- August 19, 2026
- By WAB_DEV2
- In Uncategorized
- 176
- 1

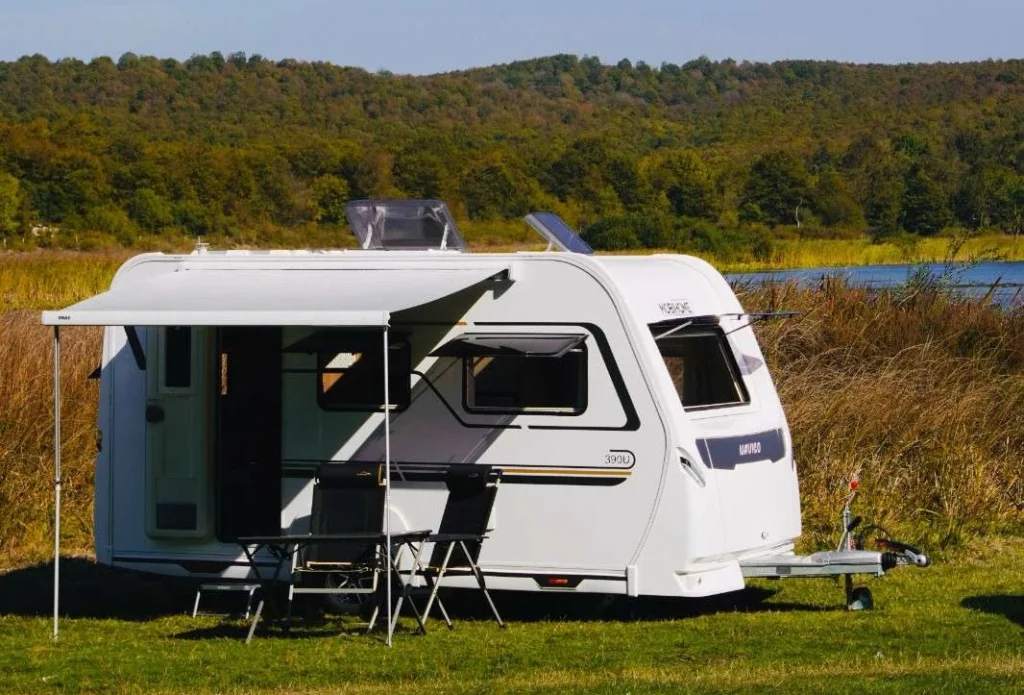
An RV awning can develop problems from wind, sun exposure, water, normal wear, or mechanical failure. The right repair depends on the type and severity of the damage. Small tears and pinholes may be repairable with compatible awning repair tape, while leaking or deteriorated fabric may require a liquid sealant. Larger tears, severely damaged fabric, bent arms, or failed hardware may require component replacement or professional RV awning repair.
Before starting any repair, inspect the entire awning to determine whether the problem is limited to the fabric or involves the arms, roller tube, motor, mounting hardware, or RV exterior.
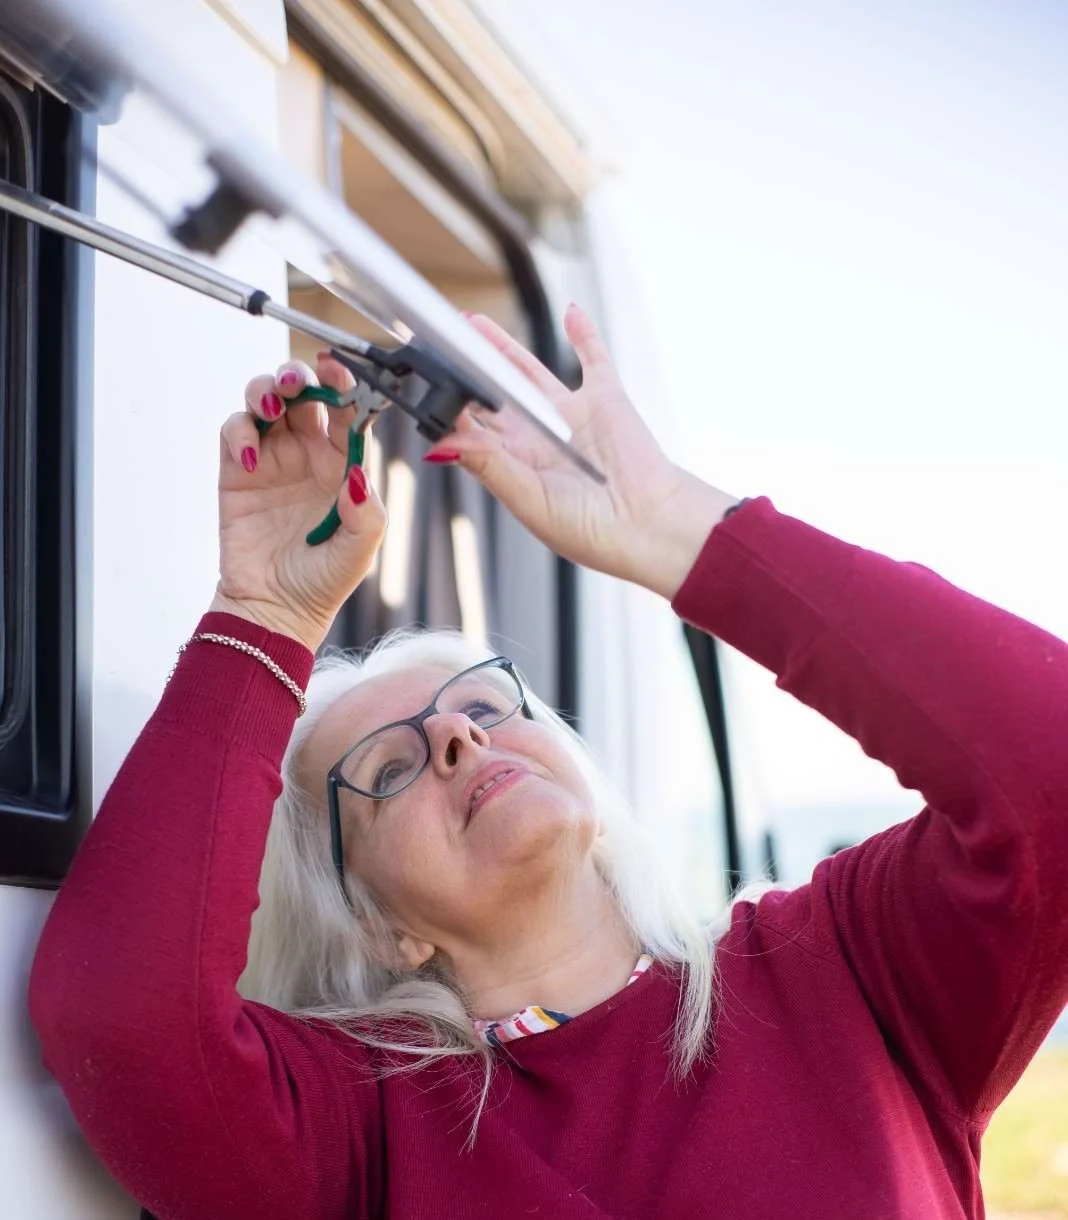
Learning how to repair an RV awning starts with identifying exactly what is damaged. A small tear in the fabric may only need a patch, while a bent arm, damaged roller tube, failed motor, or broken mounting bracket may require replacement.
Before starting any repair, fully inspect the awning and determine whether the problem is limited to the fabric or involves the awning’s mechanical and structural components.
Start by extending the awning carefully and examining the entire assembly. Do not force the awning if it is stuck or difficult to operate.
Check for:
The location and severity of the damage will determine whether you need a simple fabric repair, component replacement, or professional RV awning repair.
Once you’ve identified the visible problem, inspect the components that support and operate the awning.
Fabric: Look for tears, pinholes, stretched areas, fading, cracking, and weakened material. Small localized tears may be repairable, while widespread deterioration usually calls for fabric replacement.
Awning arms: Check that both arms are straight, securely attached, and moving evenly. Bent or damaged arms can prevent the awning from extending or retracting correctly.
Roller tube: Inspect the roller for bending, damage, or uneven rotation. Problems with the roller can cause the fabric to roll incorrectly or become difficult to operate.
Hardware and mounting points: Check brackets, bolts, fasteners, and attachment points for looseness, corrosion, or damage. Damage around the mounting area may also require inspection of the RV exterior.
Motor and electrical components: On power awnings, check the switch, wiring, fuse, and motor if the awning does not operate. Avoid opening or disassembling components that contain stored spring or torsion tension.
For fabric repairs, clean the affected area before applying any tape, patch, or sealant.
Small tears and pinholes can often be repaired without replacing the entire awning.
For a minor fabric tear:
For larger tears, damaged seams, or fabric that has become brittle from UV exposure, patching may only be a temporary solution. In these situations, RV awning replacement may provide a more reliable result.
If the awning has bent arms, damaged brackets, a faulty motor, or roller tube problems, the repair process is different from repairing the fabric.
Depending on the problem, repairs may involve:
Do not force an awning that is stuck or operating unevenly. Doing so can place additional stress on the arms, roller tube, fabric, and mounting points.
After identifying the damage, determine whether individual components can be repaired or whether replacement makes more sense.
Repair may be appropriate when:
Replacement may be better when:
A professional inspection can help determine whether you need a simple RV awning repair or a complete RV awning replacement.
Never consider the repair complete until the awning has been tested. Carefully extend and retract the awning and check that:
If the awning continues to stick, sag, make unusual noises, or operate unevenly, there may be an underlying mechanical or structural problem that needs further inspection.
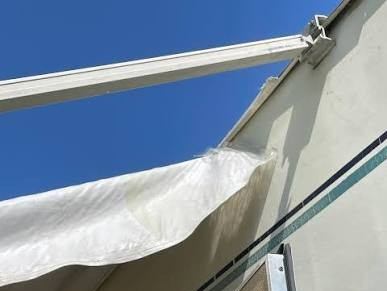
Common RV awning problems can affect the fabric, operating mechanism, electrical components, or supporting hardware. Identifying the symptoms can help determine the likely cause and the appropriate repair.
| Common Problem | Possible Causes |
|---|---|
| RV Awning Won’t Extend or Retract | Failed motor, electrical issue, damaged arms, debris, or mechanical obstruction |
| Torn or Damaged RV Awning Fabric | UV exposure, wind, rain, road debris, aging, or general wear |
| Sagging or Uneven RV Awning | Incorrect arm adjustment, stretched fabric, damaged hardware, or water accumulation |
| Bent or Damaged Awning Arms | Strong winds, impacts, improper operation, or excessive stress |
| RV Awning Motor or Electrical Failure | Failed motor, wiring problem, switch, fuse, or electrical connection |
| Loose, Broken, or Damaged Hardware | Corrosion, loose fasteners, worn brackets, or physical damage |
| Water Leaks or Pooling on the Awning | Sagging fabric, damaged seams, deteriorated material, or heavy rainfall |
RV awnings are exposed to changing weather conditions, sunlight, moisture, and repeated operation. Over time, these factors can weaken the fabric and mechanical components.
| Cause of Damage | How It Affects the RV Awning |
| Wind and Storm Damage | Strong winds can bend arms, tear fabric, damage hardware, or pull components from the RV. |
| UV Exposure and Aging | Prolonged sunlight can fade, weaken, and make awning fabric brittle and prone to tearing. |
| Rain and Water Accumulation | Heavy rain can add weight to the canopy and contribute to sagging, mold, mildew, and fabric deterioration. |
| Improper Operation or Storage | Forcing a stuck awning, leaving it open during severe weather, or storing it wet can cause damage and premature wear. |
Some minor awning problems can be addressed by experienced RV owners, but more complex repairs require specialized tools and knowledge.
Depending on the awning condition, relatively simple repairs may include:
Professional assistance is recommended for:
Always secure the awning before beginning repairs and avoid forcing components that are stuck. Large awnings can be heavy and difficult to control, while spring-loaded and torsion components can store significant energy. When the repair involves these components, professional service is the safer choice.
A poorly performed repair can cause additional damage to the awning or RV exterior. Avoiding common mistakes can help prevent unnecessary repairs and safety risks.
Use products designed for the specific awning fabric and application. Incompatible adhesives or sealants may fail when exposed to UV rays, moisture, and temperature changes.
A small tear may be repairable, but extensive or deteriorated fabric may not provide a reliable surface for patching. In these cases, replacement may be more practical.
Repairing the fabric while ignoring damaged arms, brackets, or mounting points can cause the problem to return and may place additional stress on the awning.
Wind can quickly turn a minor awning problem into extensive fabric or structural damage. Retract the awning during severe weather whenever possible.
Spring and torsion components can release stored energy unexpectedly. These repairs should be handled by trained professionals with the appropriate equipment.
Replacing a motor, arm, or other component without determining why it failed can lead to repeated problems and unnecessary expenses.
Not every damaged RV awning needs to be replaced. The right solution depends on the condition of the fabric, arms, roller tube, motor, hardware, and mounting structure.
RV awning repair is usually a practical option when the damage is limited and the main structure remains in good condition.
Repair may be appropriate for:
If the fabric is still flexible and the awning structure is sound, repairing the affected component can be more cost-effective than replacing the entire system.
RV awning replacement may be recommended when the damage is widespread or multiple major components have failed.
Replacement may make more sense when:
The total RV awning replacement cost varies depending on the extent of the damage and the type of awning being replaced.
Factors That Affect RV Awning Replacement Cost
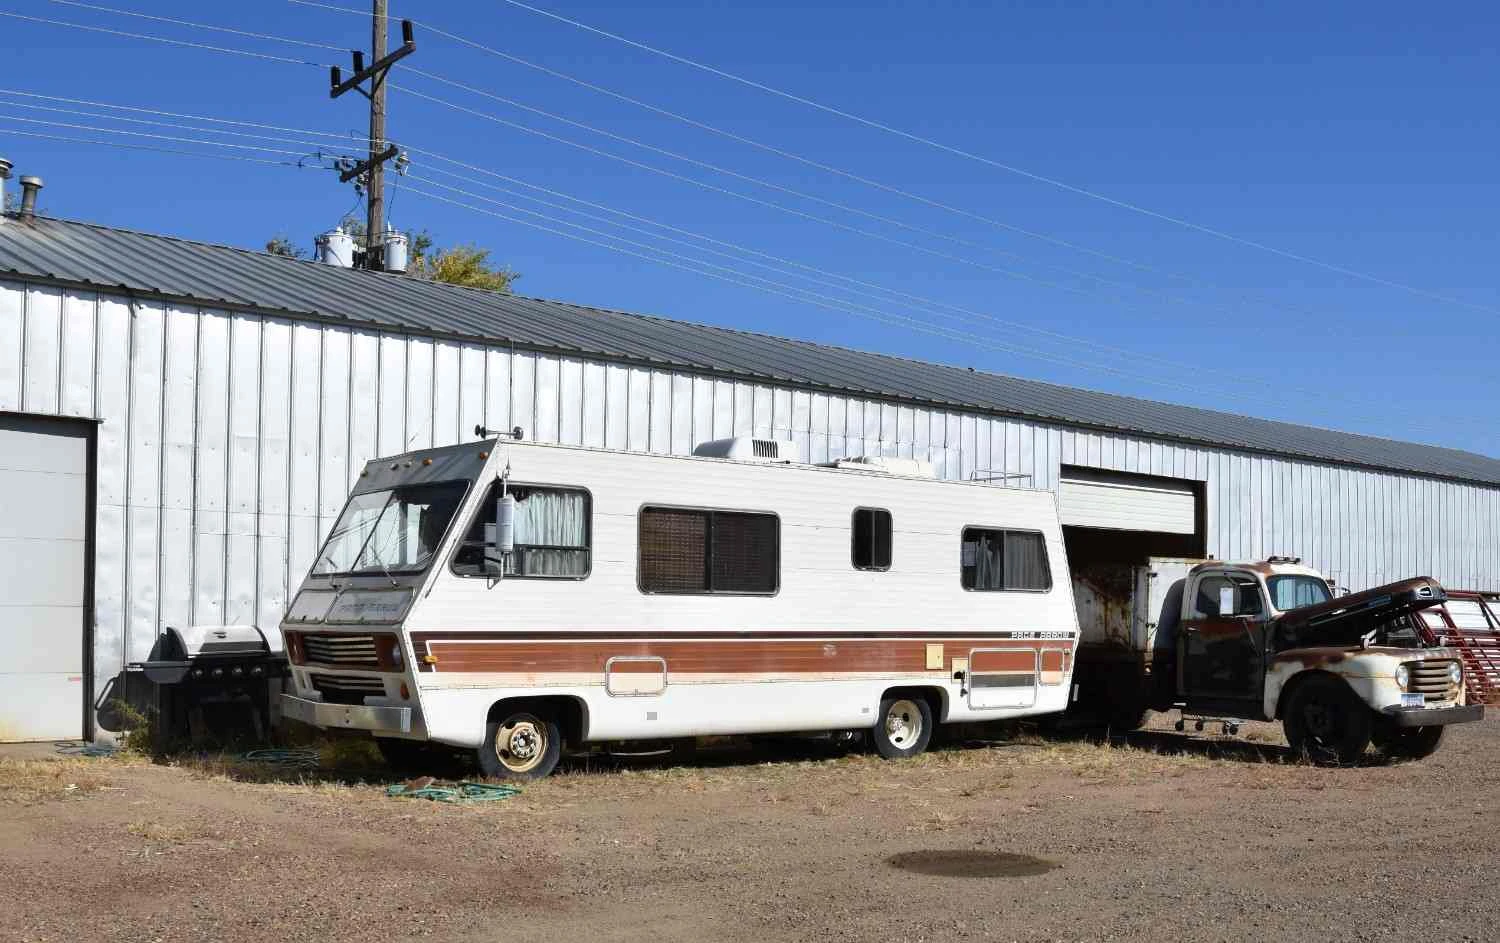
Professional RV awning repair requires more than replacing the visibly damaged part. We inspect the complete awning system to identify the underlying problem and determine whether repair, component replacement, or a complete awning replacement is the best solution.
1. RV Awning Inspection & Damage Assessment
We begin by examining the awning fabric, seams, arms, roller tube, motor, brackets, fasteners, and mounting points. We look for tears, UV deterioration, bent components, corrosion, loose hardware, electrical problems, and signs of water or impact damage.
2. Fabric & Mechanical Component Evaluation
We evaluate the condition of the fabric and operating components separately. This helps determine whether the awning can be restored with a fabric repair, hardware adjustment, motor repair, or component replacement, rather than replacing the entire assembly unnecessarily.
3. Repair vs. Replacement Recommendation
After identifying the full extent of the damage, we explain the available repair options. Minor fabric or hardware damage may be repaired, while severely deteriorated fabric, major structural damage, or multiple failed components may require RV awning replacement.
4. RV Awning Repair & Component Replacement
We complete the required repairs using appropriate RV-specific materials and replacement components. Depending on the damage, this may include fabric repair or replacement, hardware replacement, arm repair, motor replacement, or other awning component repairs.
5. Installation, Alignment & Adjustment
After repairs or replacement, we ensure the awning is securely mounted and properly aligned. We check the arms, roller tube, fabric position, and mounting points to help prevent uneven operation, sagging, or premature wear.
6. Function Testing & Final Safety Inspection
We fully test the awning by extending and retracting it to verify smooth operation and proper alignment. We also check the repaired areas, hardware, mounting points, and overall stability before completing the repair.
RV awning damage can sometimes be connected to broader exterior, structural, or accident-related damage. Depending on the condition of your RV, additional repairs may be needed to restore the vehicle completely.
Yes. Many RV awning problems can be repaired, including small fabric tears, holes, loose hardware, minor arm alignment issues, and certain motor or electrical problems. However, severely deteriorated fabric, major structural damage, or multiple failed components may make RV awning replacement the better option.
The repair method depends on the type of damage. Small fabric tears and holes can often be repaired with compatible awning repair tape or sealant. Mechanical problems may require adjustment or replacement of arms, hardware, motors, or other components. Always inspect the entire awning before deciding on a repair.
A damaged or bent awning arm may require adjustment, repair, or replacement depending on the severity of the damage. Because awning arms can contain spring or torsion tension, professional repair is recommended rather than attempting to disassemble a heavily tensioned component without the proper equipment.
Small, localized rips can often be repaired by cleaning and drying the fabric before applying compatible RV awning repair tape or a suitable fabric repair product. Large tears, deteriorated fabric, or damage around seams may require professional repair or complete fabric replacement.
Some experienced RV owners may be able to replace awning fabric or certain components themselves. However, complete awning replacement can involve heavy components, difficult positioning, and spring or torsion mechanisms. Professional installation is recommended when structural or tension-loaded components are involved.
Common problems include torn fabric, UV deterioration, sagging, bent arms, failed motors, electrical problems, loose hardware, water pooling, and difficulty extending or retracting the awning. The correct repair depends on the underlying cause.
Minor fabric damage can often be repaired with compatible awning tape or sealant after the area has been thoroughly cleaned and dried. If the fabric is brittle, heavily faded, extensively torn, or deteriorated across multiple areas, replacement may provide a longer-lasting solution.
Clean and completely dry the area around the hole, then apply an RV-compatible repair tape or patch according to the product manufacturer’s instructions. Small holes are generally easier to repair when addressed before they expand or allow additional water damage.
The cost varies depending on the awning’s size, fabric, operating system, motor, hardware, installation requirements, and extent of damage. Replacing only the fabric or a single component is generally less involved than replacing the complete awning assembly. A professional inspection can provide a more accurate estimate.


1 COMMENT
Chattanooga Auto Glass
September 9, 2026, 10:32 pm REPLYSo many different parts that may need repair, like the awning, windshield, etc.